All Activity
- Today
-
 cors joined the community
 -
 Fresuq joined the community
 -
 Garbiel joined the community
 -
 soiji joined the community
 -
 olca19 joined the community
 -
 smile joined the community
 -
 slimothyy joined the community
 -
 Kreknol joined the community
 -
 gearlove1999 joined the community
 -
After hours with support they just blocked me from even getting support didnt get a refund or nothing never buying here again not my fault even support confirmed my specs were okay.
- Yesterday
-
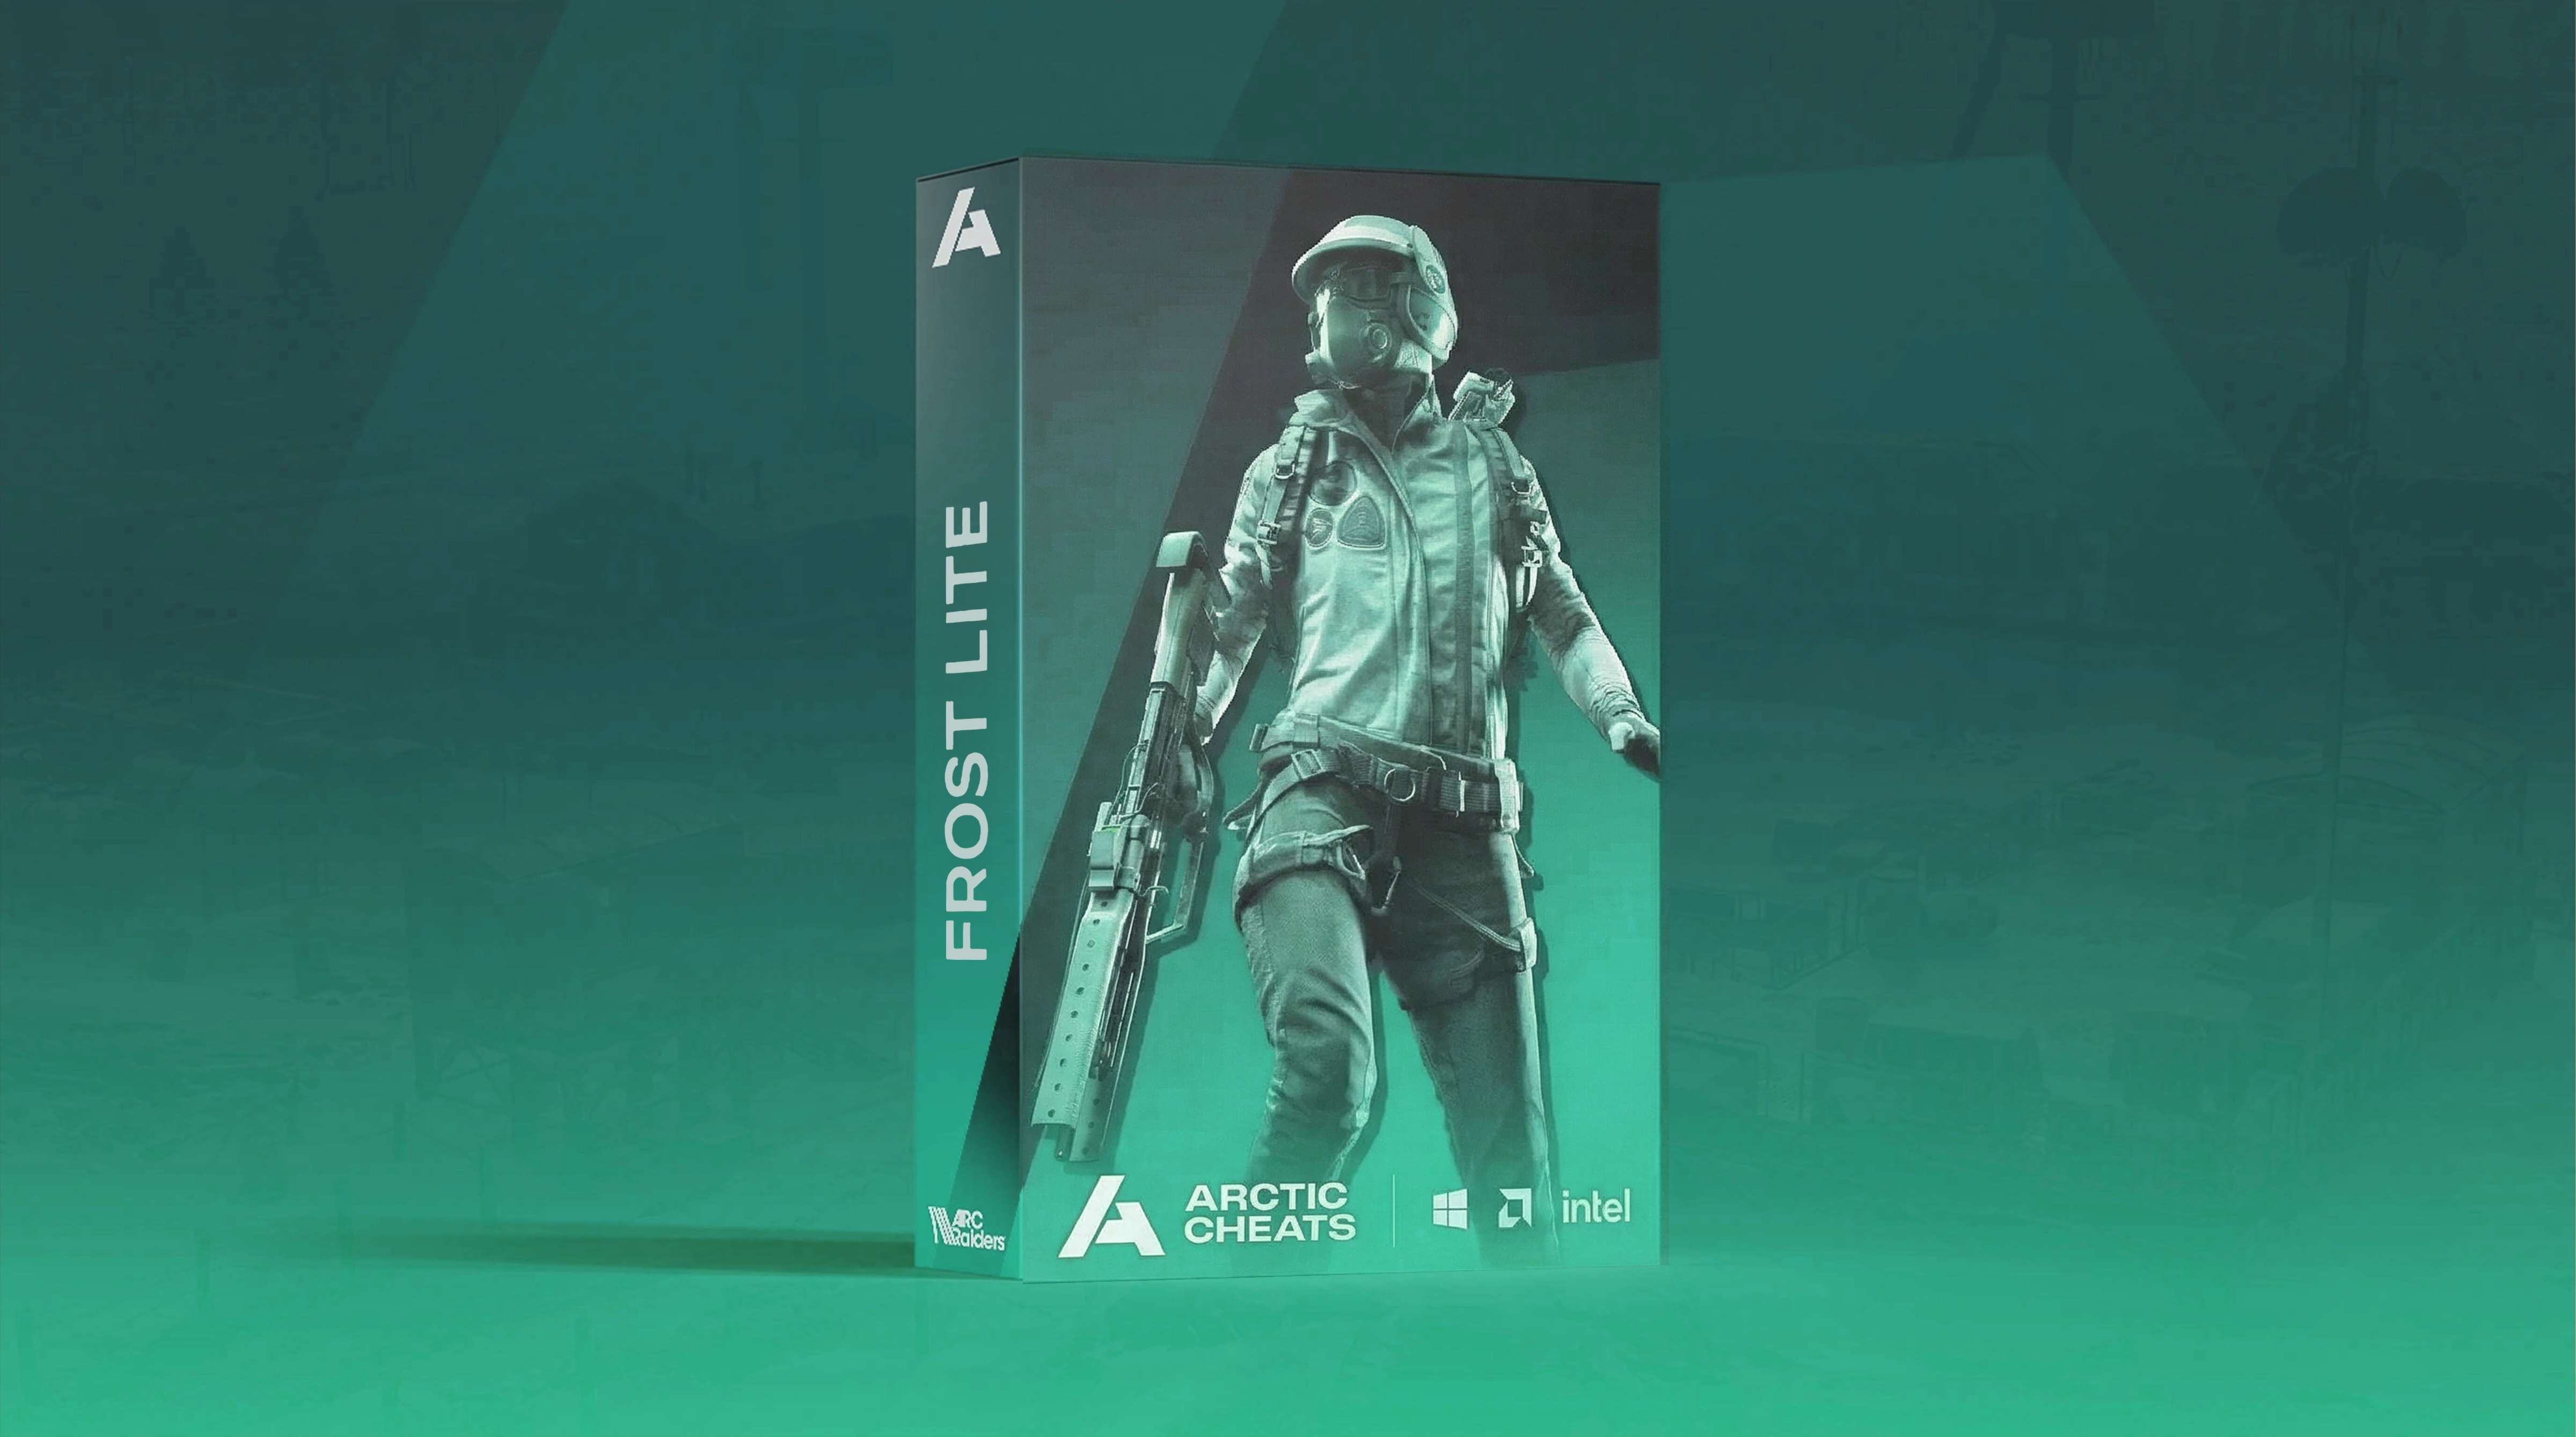
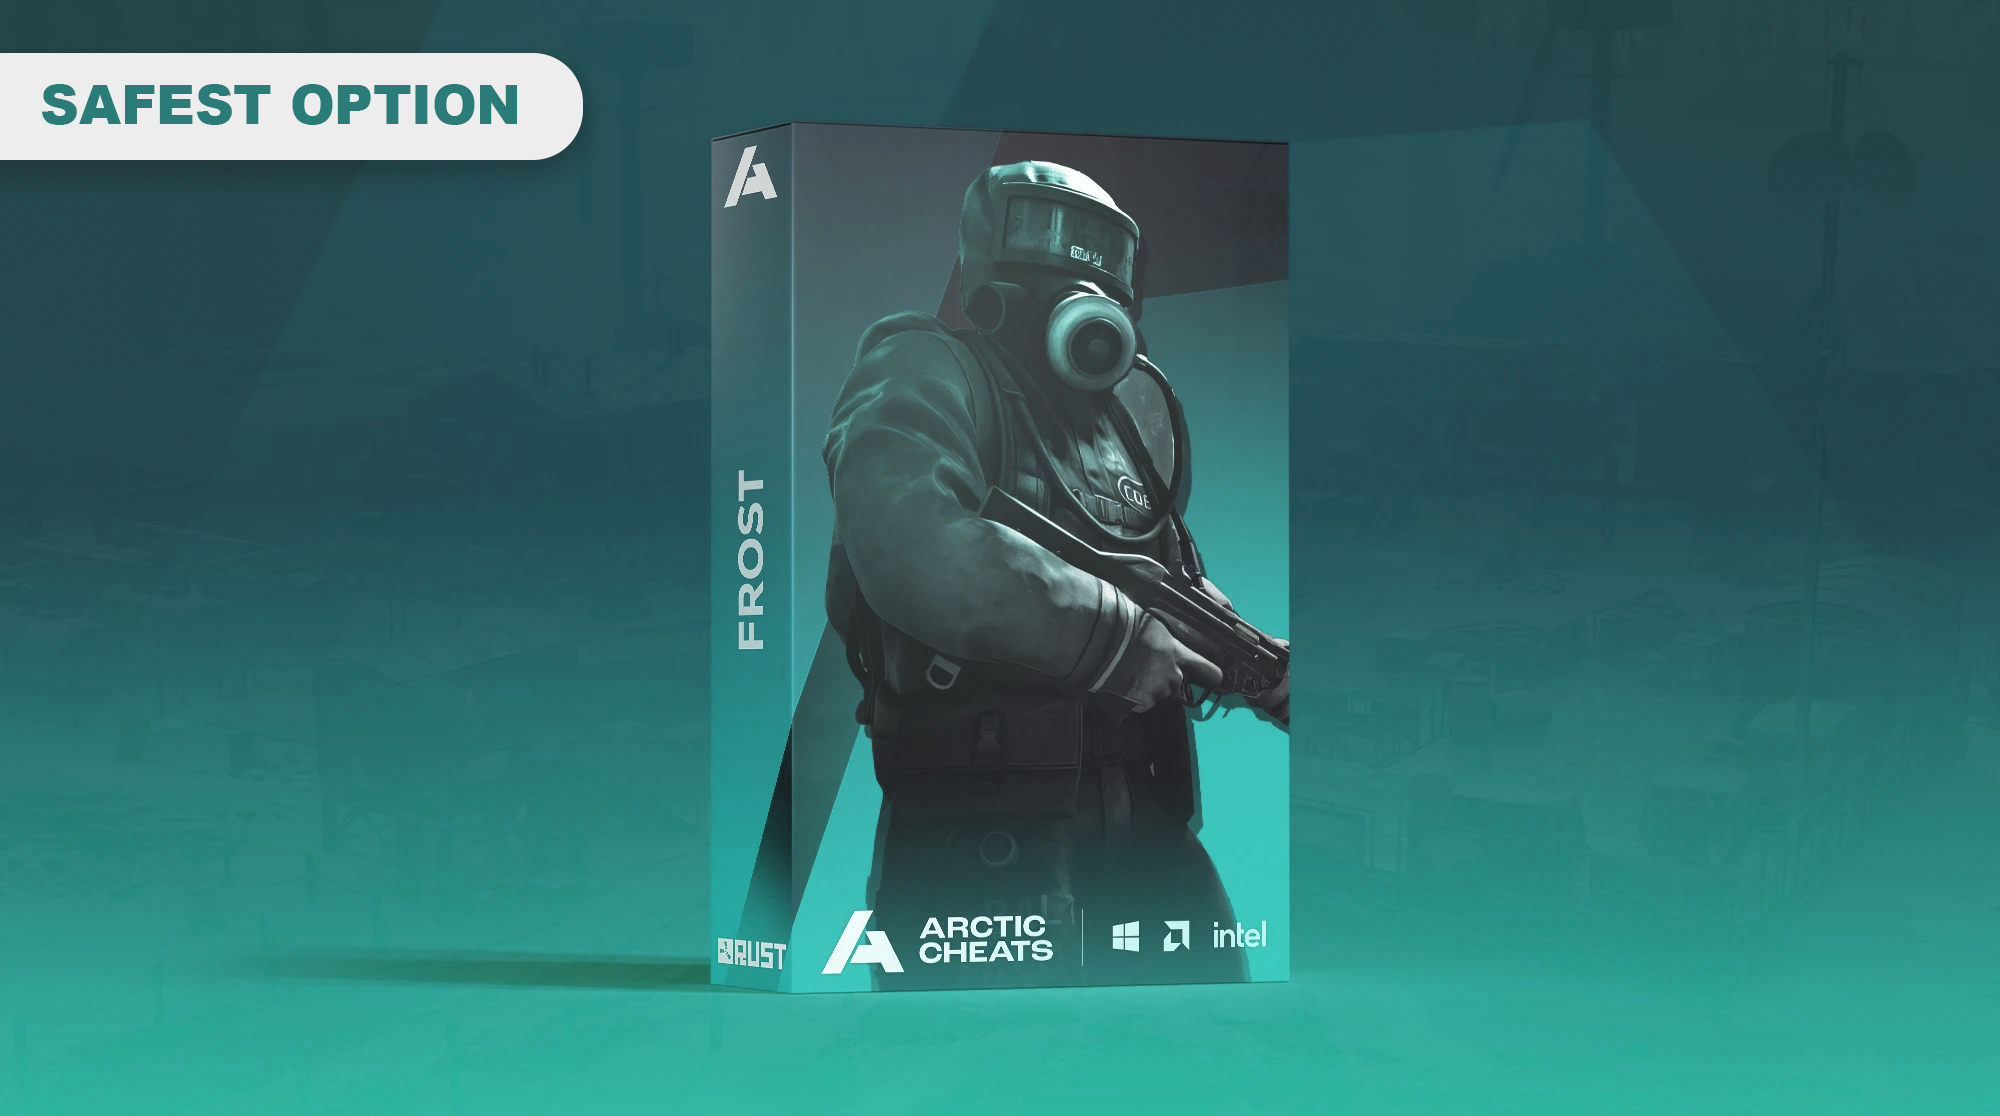
Frost LITE Lifetime
Product in Arc Raiders

-
Information
- Supported CPU: Intel + AMD
- Supported Windows Version: 10 - 11
- Cheat Type: Internal
- Works on Steam only
-
-
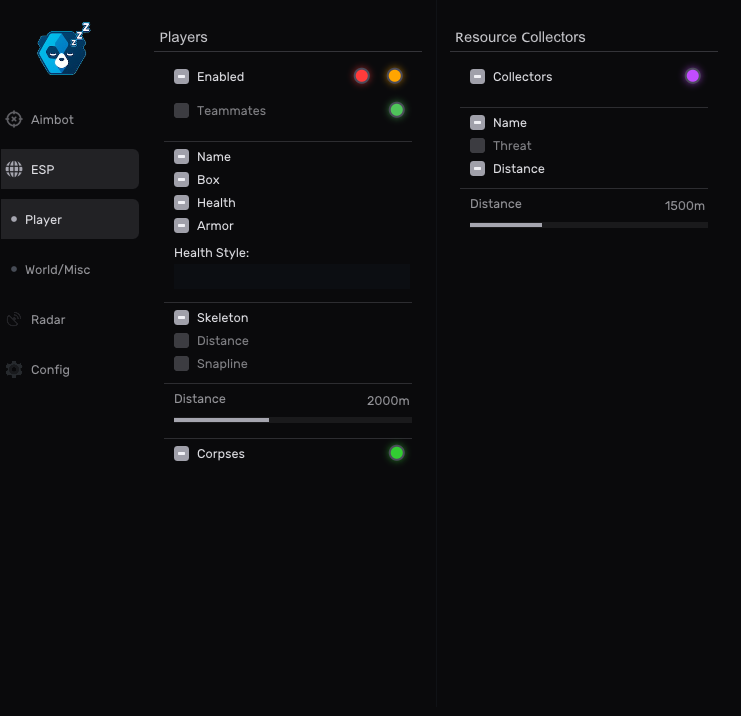
Radar
Full awarness of goop and nearby players
- Weapons
- Loot
- Downed players
- Dead bodies
- + More
-
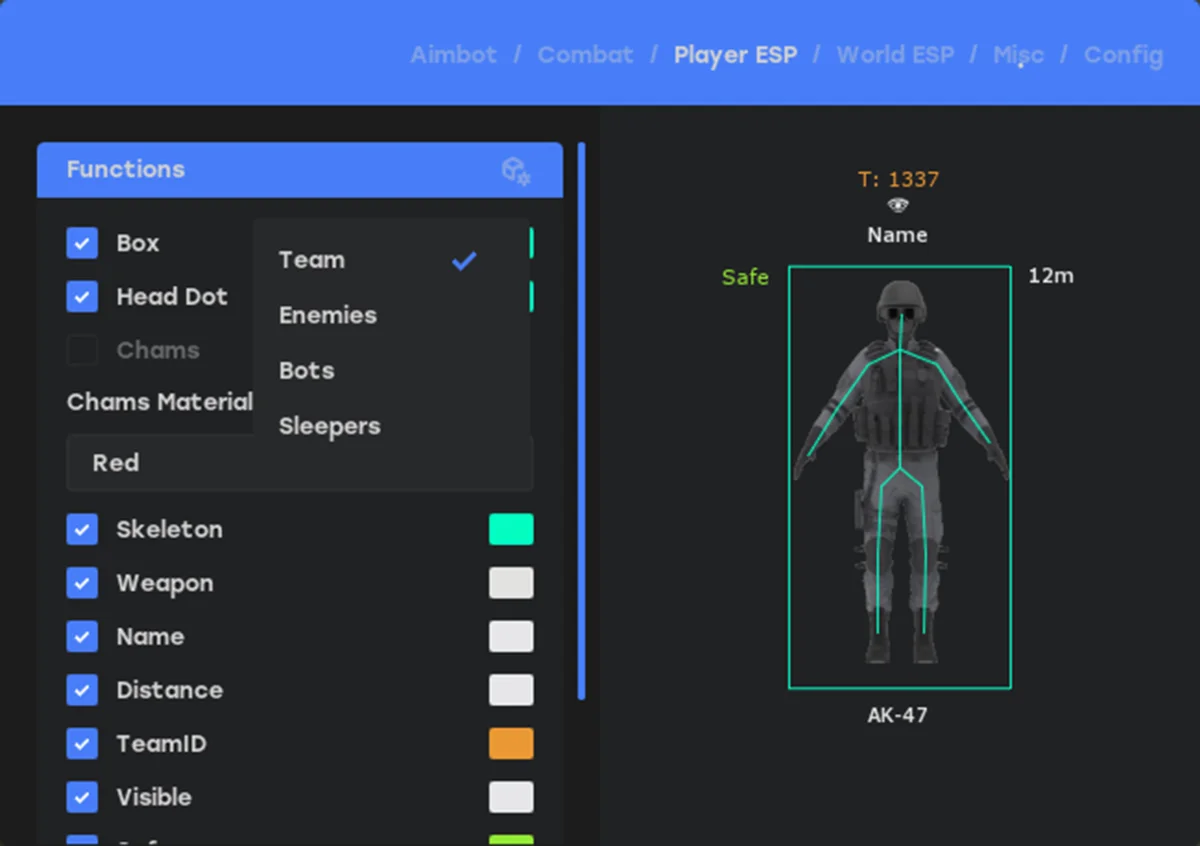
ESP
Customizable player awareness visuals.
- Player box
- Head dot
- Skeleton ESP
- Out of FOV arrows
- Distance indicator
- Player name
- Weapon ESP (organized by rarity)
- Visibility indicator
- Team indicator
- Draggable ESP layout
-
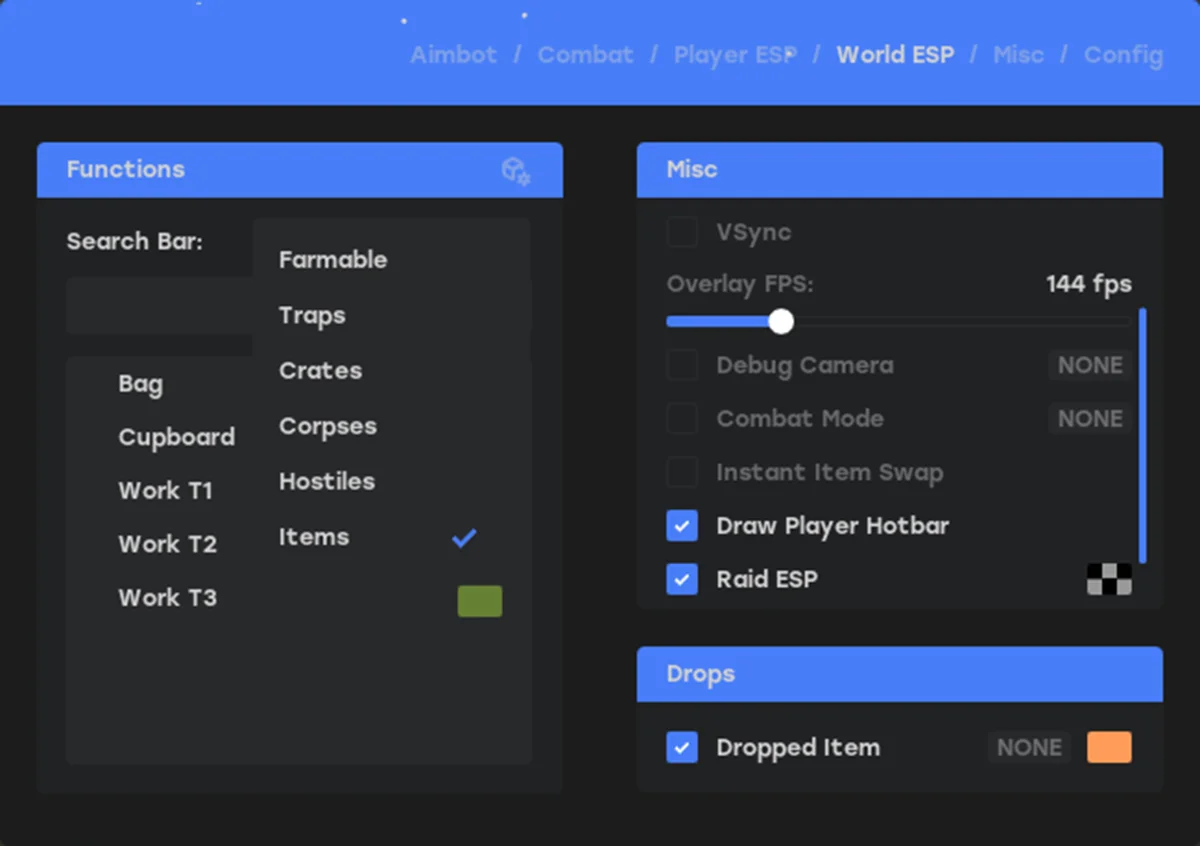
Misc
Configuration management and overlay controls.
- Config name input
- Add configuration
- Configuration list
- Load configuration
- Save configuration
- Delete configuration
- Clear configuration
- Overlay FPS control
- Developer mode
- Player list of nearby players
-
From$159.90 -
-
Frost LITE 30 Days
Product in Arc Raiders

-
Information
- Supported CPU: Intel + AMD
- Supported Windows Version: 10 - 11
- Cheat Type: Internal
- Works on Steam only
-
-
Radar
Full awarness of goop and nearby players
- Weapons
- Loot
- Downed players
- Dead bodies
- + More
-
ESP
Customizable player awareness visuals.
- Player box
- Head dot
- Skeleton ESP
- Out of FOV arrows
- Distance indicator
- Player name
- Weapon ESP (organized by rarity)
- Visibility indicator
- Team indicator
- Draggable ESP layout
-
Misc
Configuration management and overlay controls.
- Config name input
- Add configuration
- Configuration list
- Load configuration
- Save configuration
- Delete configuration
- Clear configuration
- Overlay FPS control
- Developer mode
- Player list of nearby players
-
From$44.90 -
-
Frost LITE 7 Days
Product in Arc Raiders
-
Information
- Supported CPU: Intel + AMD
- Supported Windows Version: 10 - 11
- Cheat Type: Internal
- Works on Steam only
-
-
Radar
Full awarness of goop and nearby players
- Weapons
- Loot
- Downed players
- Dead bodies
- + More
-
ESP
Customizable player awareness visuals.
- Player box
- Head dot
- Skeleton ESP
- Out of FOV arrows
- Distance indicator
- Player name
- Weapon ESP (organized by rarity)
- Visibility indicator
- Team indicator
- Draggable ESP layout
-
Misc
Configuration management and overlay controls.
- Config name input
- Add configuration
- Configuration list
- Load configuration
- Save configuration
- Delete configuration
- Clear configuration
- Overlay FPS control
- Developer mode
- Player list of nearby players
-
From$23.90 -
-
Frost LITE 3 Days
Product in Arc Raiders

-
Information
- Supported CPU: Intel + AMD
- Supported Windows Version: 10 - 11
- Cheat Type: Internal
- Works on Steam only
-
-
Radar
Full awarness of goop and nearby players
- Weapons
- Loot
- Downed players
- Dead bodies
- + More
-
ESP
Customizable player awareness visuals.
- Player box
- Head dot
- Skeleton ESP
- Out of FOV arrows
- Distance indicator
- Player name
- Weapon ESP (organized by rarity)
- Visibility indicator
- Team indicator
- Draggable ESP layout
-
Misc
Configuration management and overlay controls.
- Config name input
- Add configuration
- Configuration list
- Load configuration
- Save configuration
- Delete configuration
- Clear configuration
- Overlay FPS control
- Developer mode
- Player list of nearby players
-
From$13.90 -
-
Frost LITE 1 Day
Product in Arc Raiders

-
Information
- Supported CPU: Intel + AMD
- Supported Windows Version: 10 - 11
- Cheat Type: Internal
- Works on Steam only
-
-
Radar
Full awarness of goop and nearby players
- Weapons
- Loot
- Downed players
- Dead bodies
- + More
-
ESP
Customizable player awareness visuals.
- Player box
- Head dot
- Skeleton ESP
- Out of FOV arrows
- Distance indicator
- Player name
- Weapon ESP (organized by rarity)
- Visibility indicator
- Team indicator
- Draggable ESP layout
-
Misc
Configuration management and overlay controls.
- Config name input
- Add configuration
- Configuration list
- Load configuration
- Save configuration
- Delete configuration
- Clear configuration
- Overlay FPS control
- Developer mode
- Player list of nearby players
-
From$7.90 -
-
Frost LITE
Product in Arc Raiders

-
Information
- Supported CPU: Intel + AMD
- Supported Windows Version: 10 - 11
- Cheat Type: Internal
- Works on Steam only
-
-
Radar
Full awarness of goop and nearby players
- Weapons
- Loot
- Downed players
- Dead bodies
- + More
-
ESP
Customizable player awareness visuals.
- Player box
- Head dot
- Skeleton ESP
- Out of FOV arrows
- Distance indicator
- Player name
- Weapon ESP (organized by rarity)
- Visibility indicator
- Team indicator
- Draggable ESP layout
-
Misc
Configuration management and overlay controls.
- Config name input
- Add configuration
- Configuration list
- Load configuration
- Save configuration
- Delete configuration
- Clear configuration
- Overlay FPS control
- Developer mode
- Player list of nearby players
-
From$7.90 -
-
 bmo changed their profile photo
 - Last week
-
 mathzd changed their profile photo
 -
 Amelia changed their profile photo
 -
 Rashed121282 changed their profile photo
 - Earlier
-
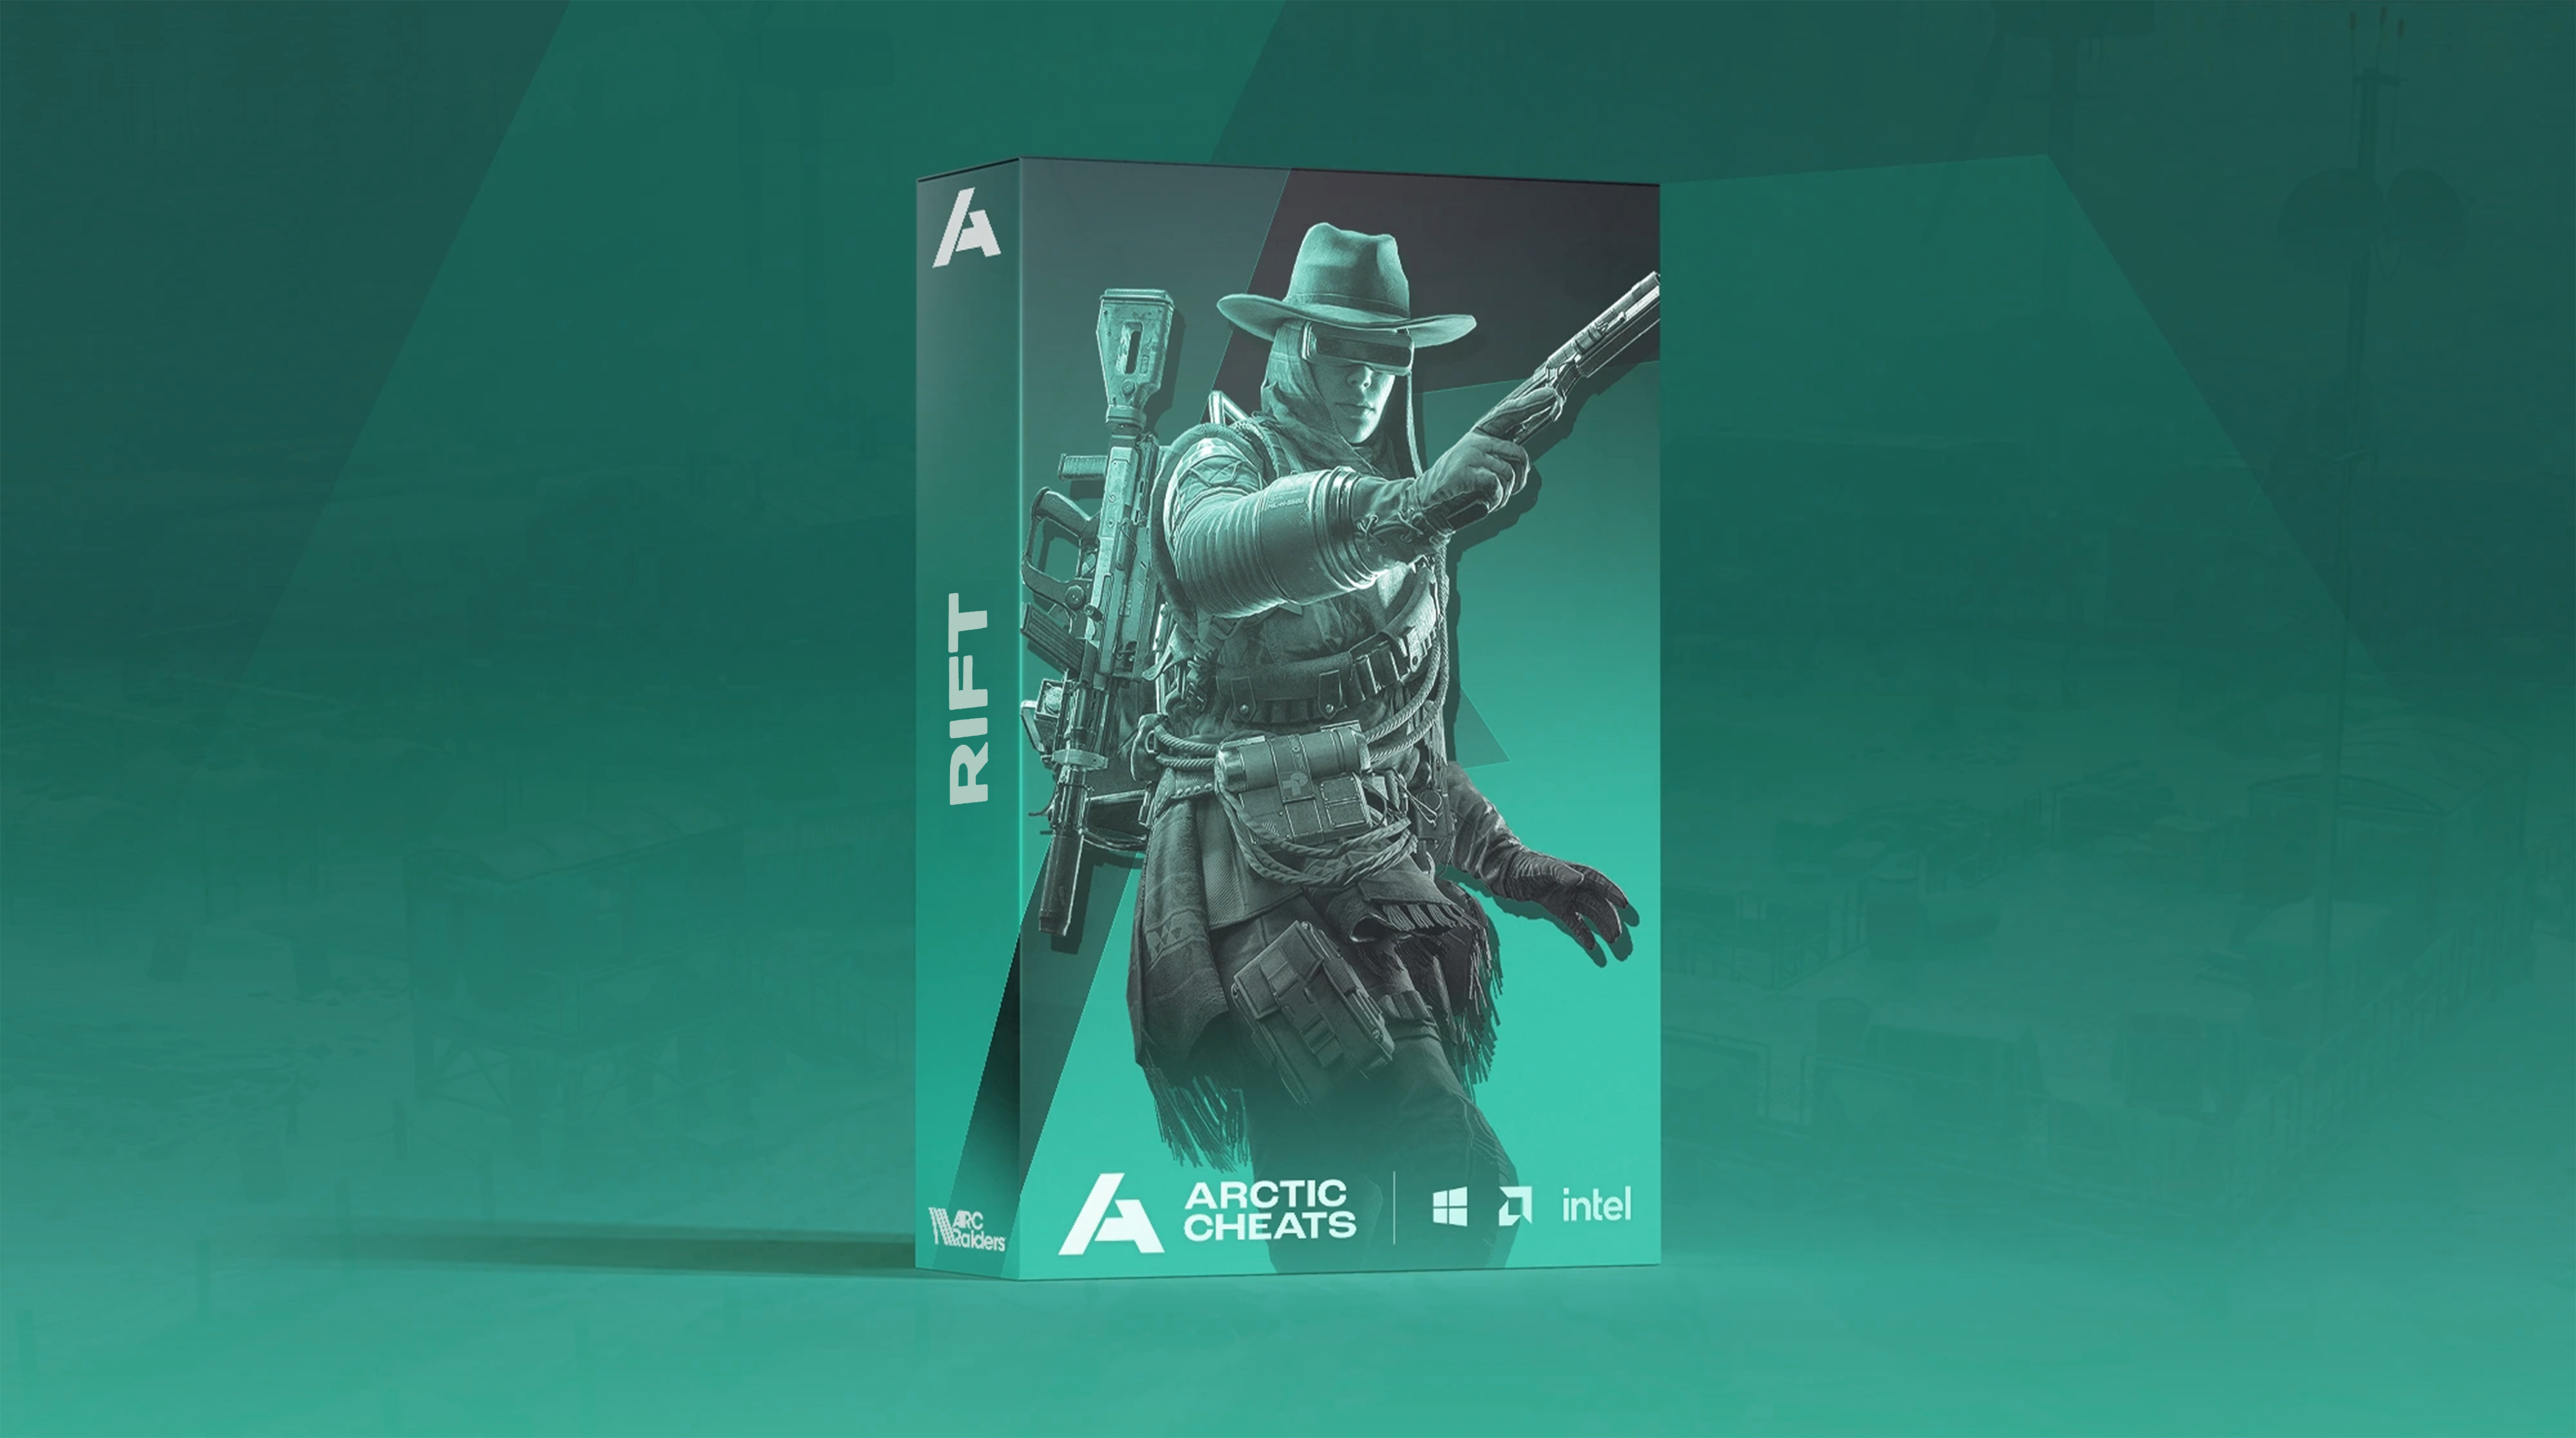
Rift 3 Days
Product in Arc Raiders
 Supported Windows Version: 10 - 11Steam OnlySupported CPU: Intel + AMD
Aimbot
General
- Customizable hotkey
- Customizable FOV
- Customizable smoothing
- Humanization
- Smoothing threshold
- Aim prediction
- Ignore bots
- Maximum distance
Visuals
Player ESP
- Name
- Box
- Skeleton
- Distance
- Visibility Check
- Healthbar
- Show bots
- Snapline
- Maximum distance
- ESP size changer
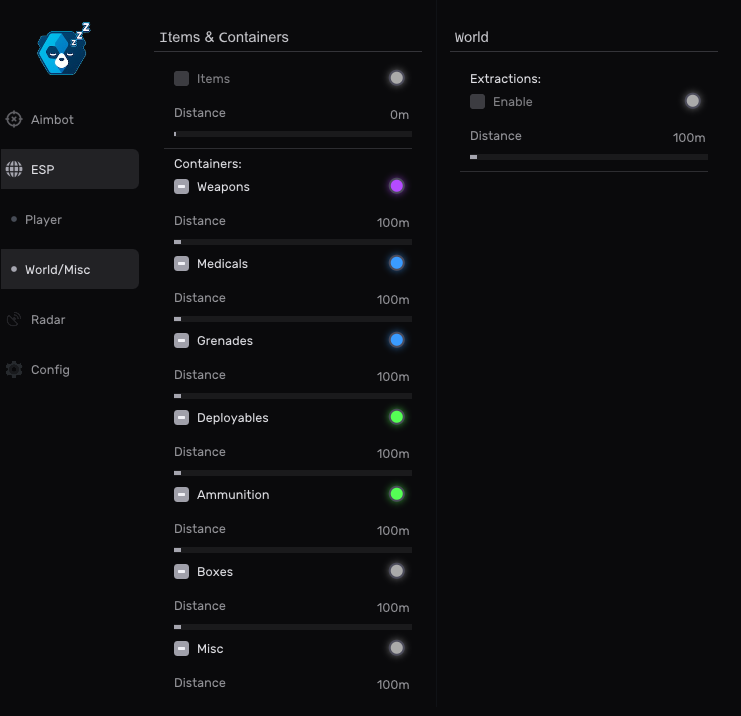
Loot Visuals
- Items
- Containers
- Customizable item ESP
- Extraction
- Maximum distance
- ESP size changer
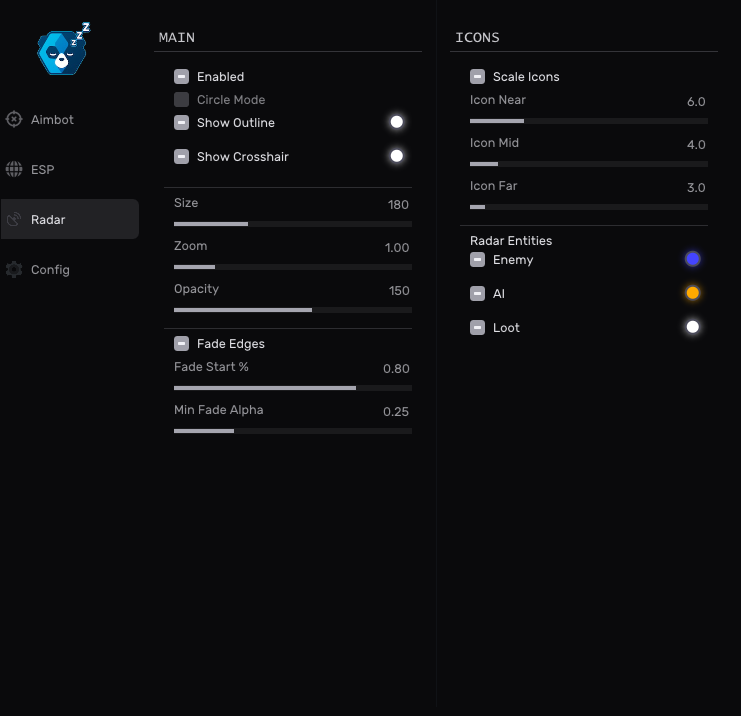
Radar
- 2D Radar
- Customizable size
- Outline
- Icons
- Scaling
- Player
- Collectors
- Loot
- Others
Additional Features
- Instant delivery
- Auto update
- Customizable colors
- Save config
- Load config
Menu Images
 From$17.90
 -
 kenno changed their profile photo
 -
 capeertin changed their profile photo
 -
 jmro07 changed their profile photo
 -
 ocean changed their profile photo
 -
Im really impressed the frost cheat is ass but armani is sooo good veryyy nice definetly worth buying
-
 ayaz changed their profile photo
 -
moh helped me while 3 agents kept avoiding me and kept giving me npc fixes
-
 odaymt11 changed their profile photo
 -
300+ Hours (Arc NFA)
Product in Arc Raiders

-
Information
- Non-Full-Access (NFA) Arc Raiders Accounts: NFA Implies these accounts last 12 hours or more.
- 6 Hour Warrenty: If your account gets pulled back within 6 hours of purchase, contact support we will compensate you. Refunds not provided after 6 hours.
- Video Showcase: In the video below, you can see how easy it is to get logged into your NFA.
- 100+ Hour Arc Raiders NFA Account
From$39.90 -
-
200-300 Hours (Arc NFA)
Product in Arc Raiders
-
Information
- Non-Full-Access (NFA) Arc Raiders Accounts: NFA Implies these accounts last 12 hours or more.
- 6 Hour Warrenty: If your account gets pulled back within 6 hours of purchase, contact support we will compensate you. Refunds not provided after 6 hours.
- Video Showcase: In the video below, you can see how easy it is to get logged into your NFA.
- 100+ Hour Arc Raiders NFA Account
From$27.90 -
-
Frost (Rust) 3 Days
Product in Rust Cheats
Aimbot
Weapon Categories
- Pistols
- Rifles
- Snipers
- Shotguns
- SMG
- Others
Targeting Options
- Enabled
- Silent Aimbot
- Speed (0–100%)
- Field of View (0–180°)
- Max Distance (0–500 m)
- Retarget Time (0–1000 ms)
- Detach Time (0–1000 ms)
Filtering Options
- Filter Team
- Filter Bots
- Filter Invisible
- Filter Knocked
- Draw Aimbot FOV (color)
- Per-weapon hitbox selection
Player ESP
Player Types
- Enemy
- Team
- Bot
- Sleepers
Main ESP Settings
- Max Distance (0–500 m)
- Box (color)
- Head Dot (color)
- View Angles (color)
- Skeleton (color)
- Out of FOV Arrows (color)
- Weapon (position, color)
- Distance (position, color)
- Name (position, color)
- Visible (position, color)
- Team (position, color)
- Draggable ESP System
Prefabs ESP
Prefab Type Categories
- Hostiles
- Traps
- Crates
- Farmables
- Corpses
- Construction
- Vehicles
- Monuments
Control Options
- Current Selection
- Active All [Current Section]
- Disable All [Current Section]
- Active All [Global]
- Disable All [Global]
Prefab List Configuration
- Search Bar
- Max Distance (0–2000 m, per category)
- Individual prefab toggles
- Color picker (per prefab)
- Auto truncate long names
Dropped Items ESP
Item Categories
- Ammunition
- Equipment
- Weapons
- Constructions
- Resources
- Clothes
- Food
- Meds
- Traps
- Misc
- Components
- Electrical
- Fun
Control Options
- Current Selection
- Active All [Current Section]
- Disable All [Current Section]
- Active All [Global]
- Disable All [Global]
Dropped Items List Configuration
- Search Bar
- Max Distance (0–2000 m, per category)
- Individual item toggles
- Color picker (per item)
- Auto truncate long names
Misc
Weapon Section
- Instant Eoka
- Instant Bow
- Instant Compound
- Thick Bullet
- Head Hitbox Override
- Material Override
Modifiers
- No Recoil % (0–100%)
- No Sway % (0–100%)
- No Spread % (0–100%)
- Fire Rate % (0–100%)
Melee
- No Slow Down
- Long Hit
Movement Section
- Spiderman (keybind)
- Omni Sprint (keybind)
- Debug Camera (keybind)
- Shoot Mounted (keybind)
- Jump Shoot (keybind)
- Flyhack (keybind)
World Section
- Farm Assist
- Fast Loot
- Bright Caves
- Bright Night
- X-Ray (keybind)
- Zoom (keybind)
- Zoom FOV (10–60)
Remove Layers
- Selectable layer removal list
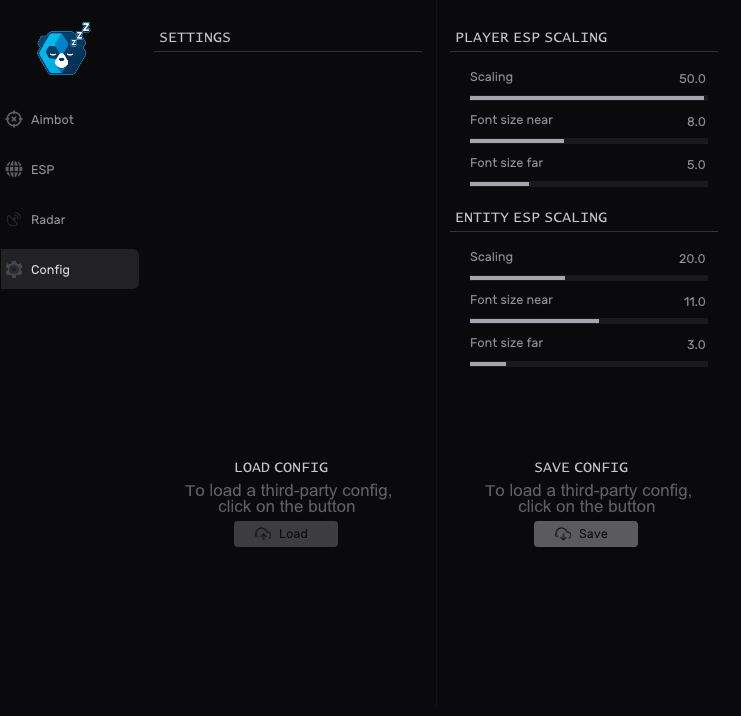
Config
Configuration Management
- Config Name Input
- Add Config (+)
- Config List
Action Buttons
- LOAD
- SAVE
- DELETE
- CLEAR
Miscellaneous Settings
- Overlay FPS (30–500 FPS)
- Developer Mode (debug only)
- Combat Mode (keybind)
Menu Images
From$14.90 -
Thank you for your feedback. Our Trace 1.0 version is not updated with the latest security features that Trace 2.0 has. For the safest experience, please use Trace 2.0. I can confidentally say that you will not be dissappointed with Trace 2.0.
-
I didn’t get banned using frost aimbot on Fortnite but got banned for using a spoofer 5/10
-
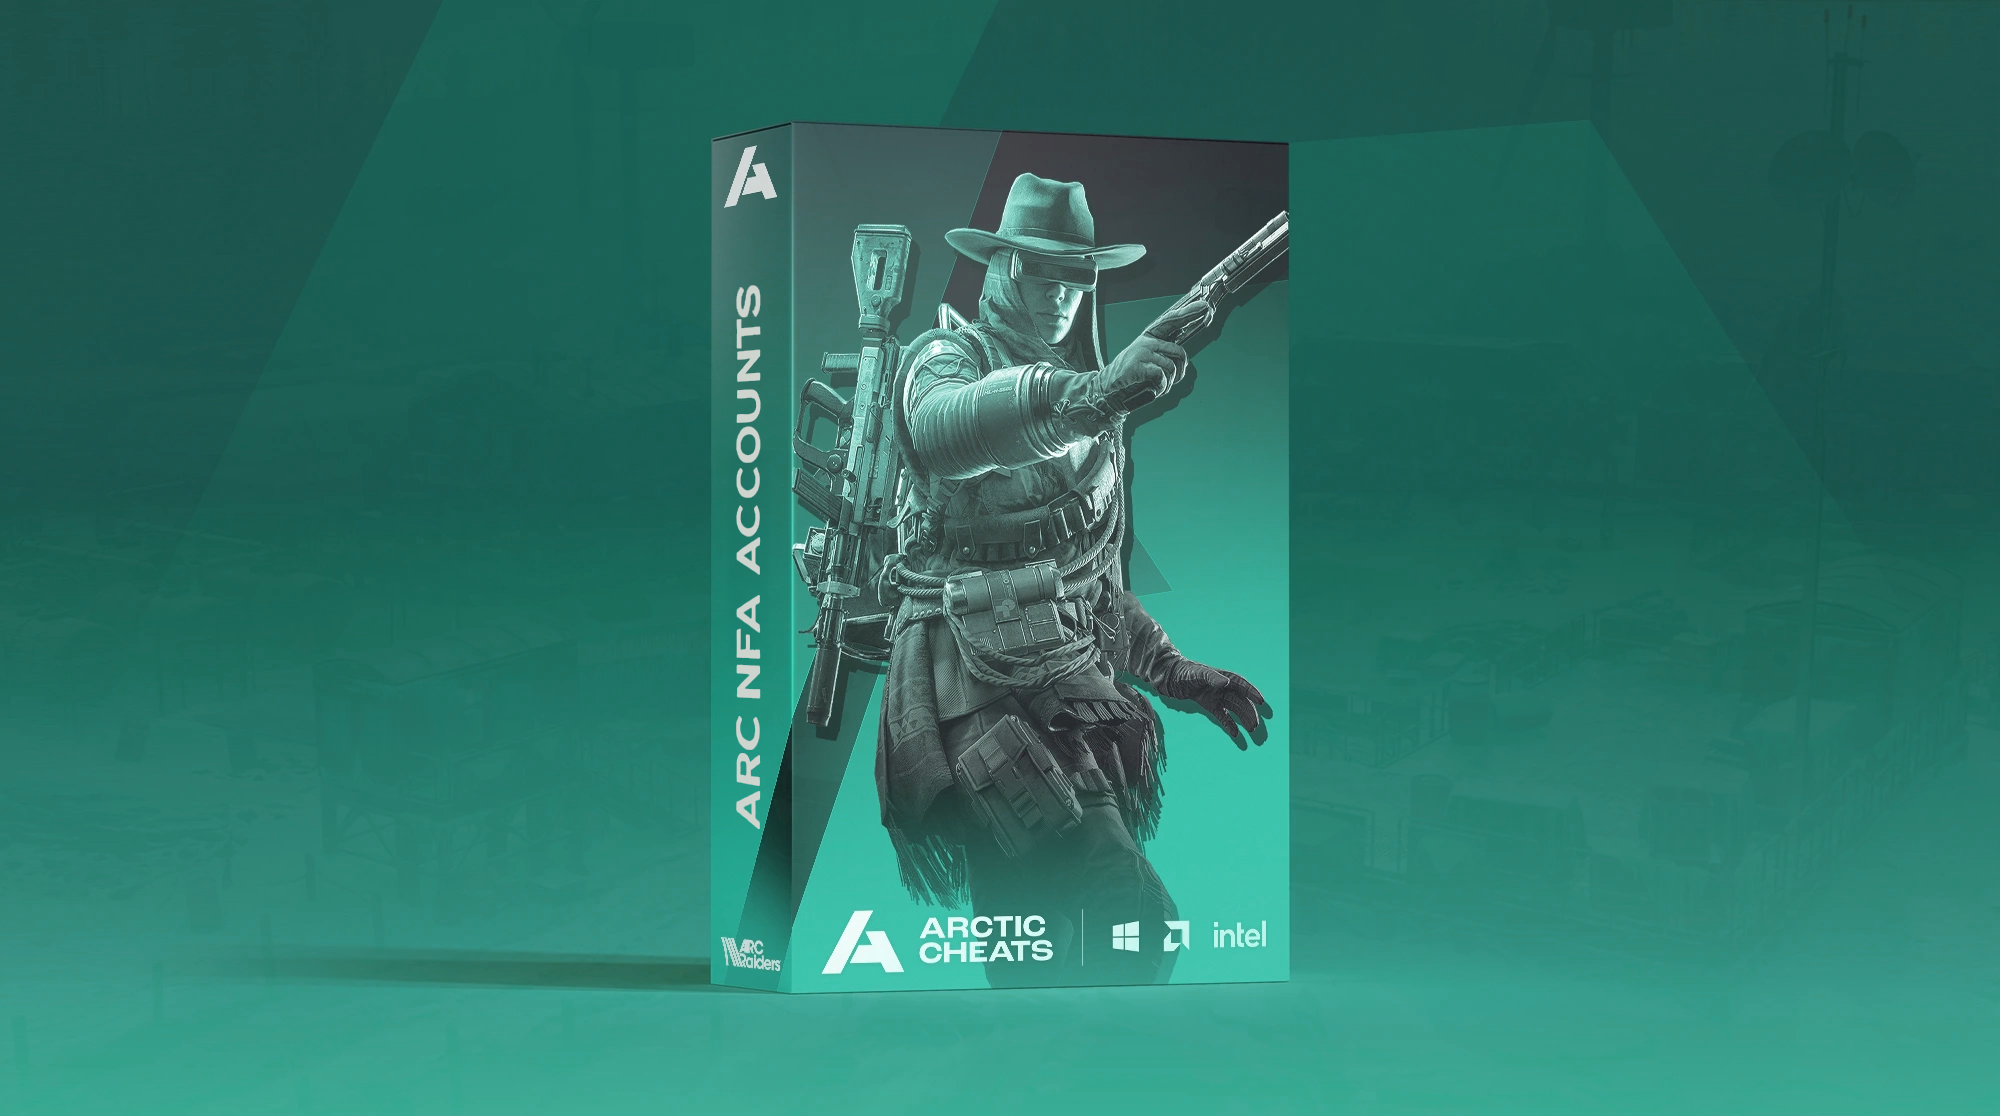
Arc NFA Accounts
Product in Arc Raiders

-
Information
- Non-Full-Access (NFA) Arc Raiders Accounts: NFA Implies these accounts last 12 hours or more.
- 6 Hour Warrenty (0 Hour NFA's Only): For 0 hour accounts, if the account gets pulled back within 6 hours of purchase, contact our support team and we can issue you a replacement. This only applys to 0 hour accounts.
- Video Showcase: In the video below, you can see how easy it is to get logged into your NFA.
- 0-300+ Hours: Our NFA accounts can come with 0 to 300+ hours played on Arc Raiders depending on your choice.
From$5.90 -
-
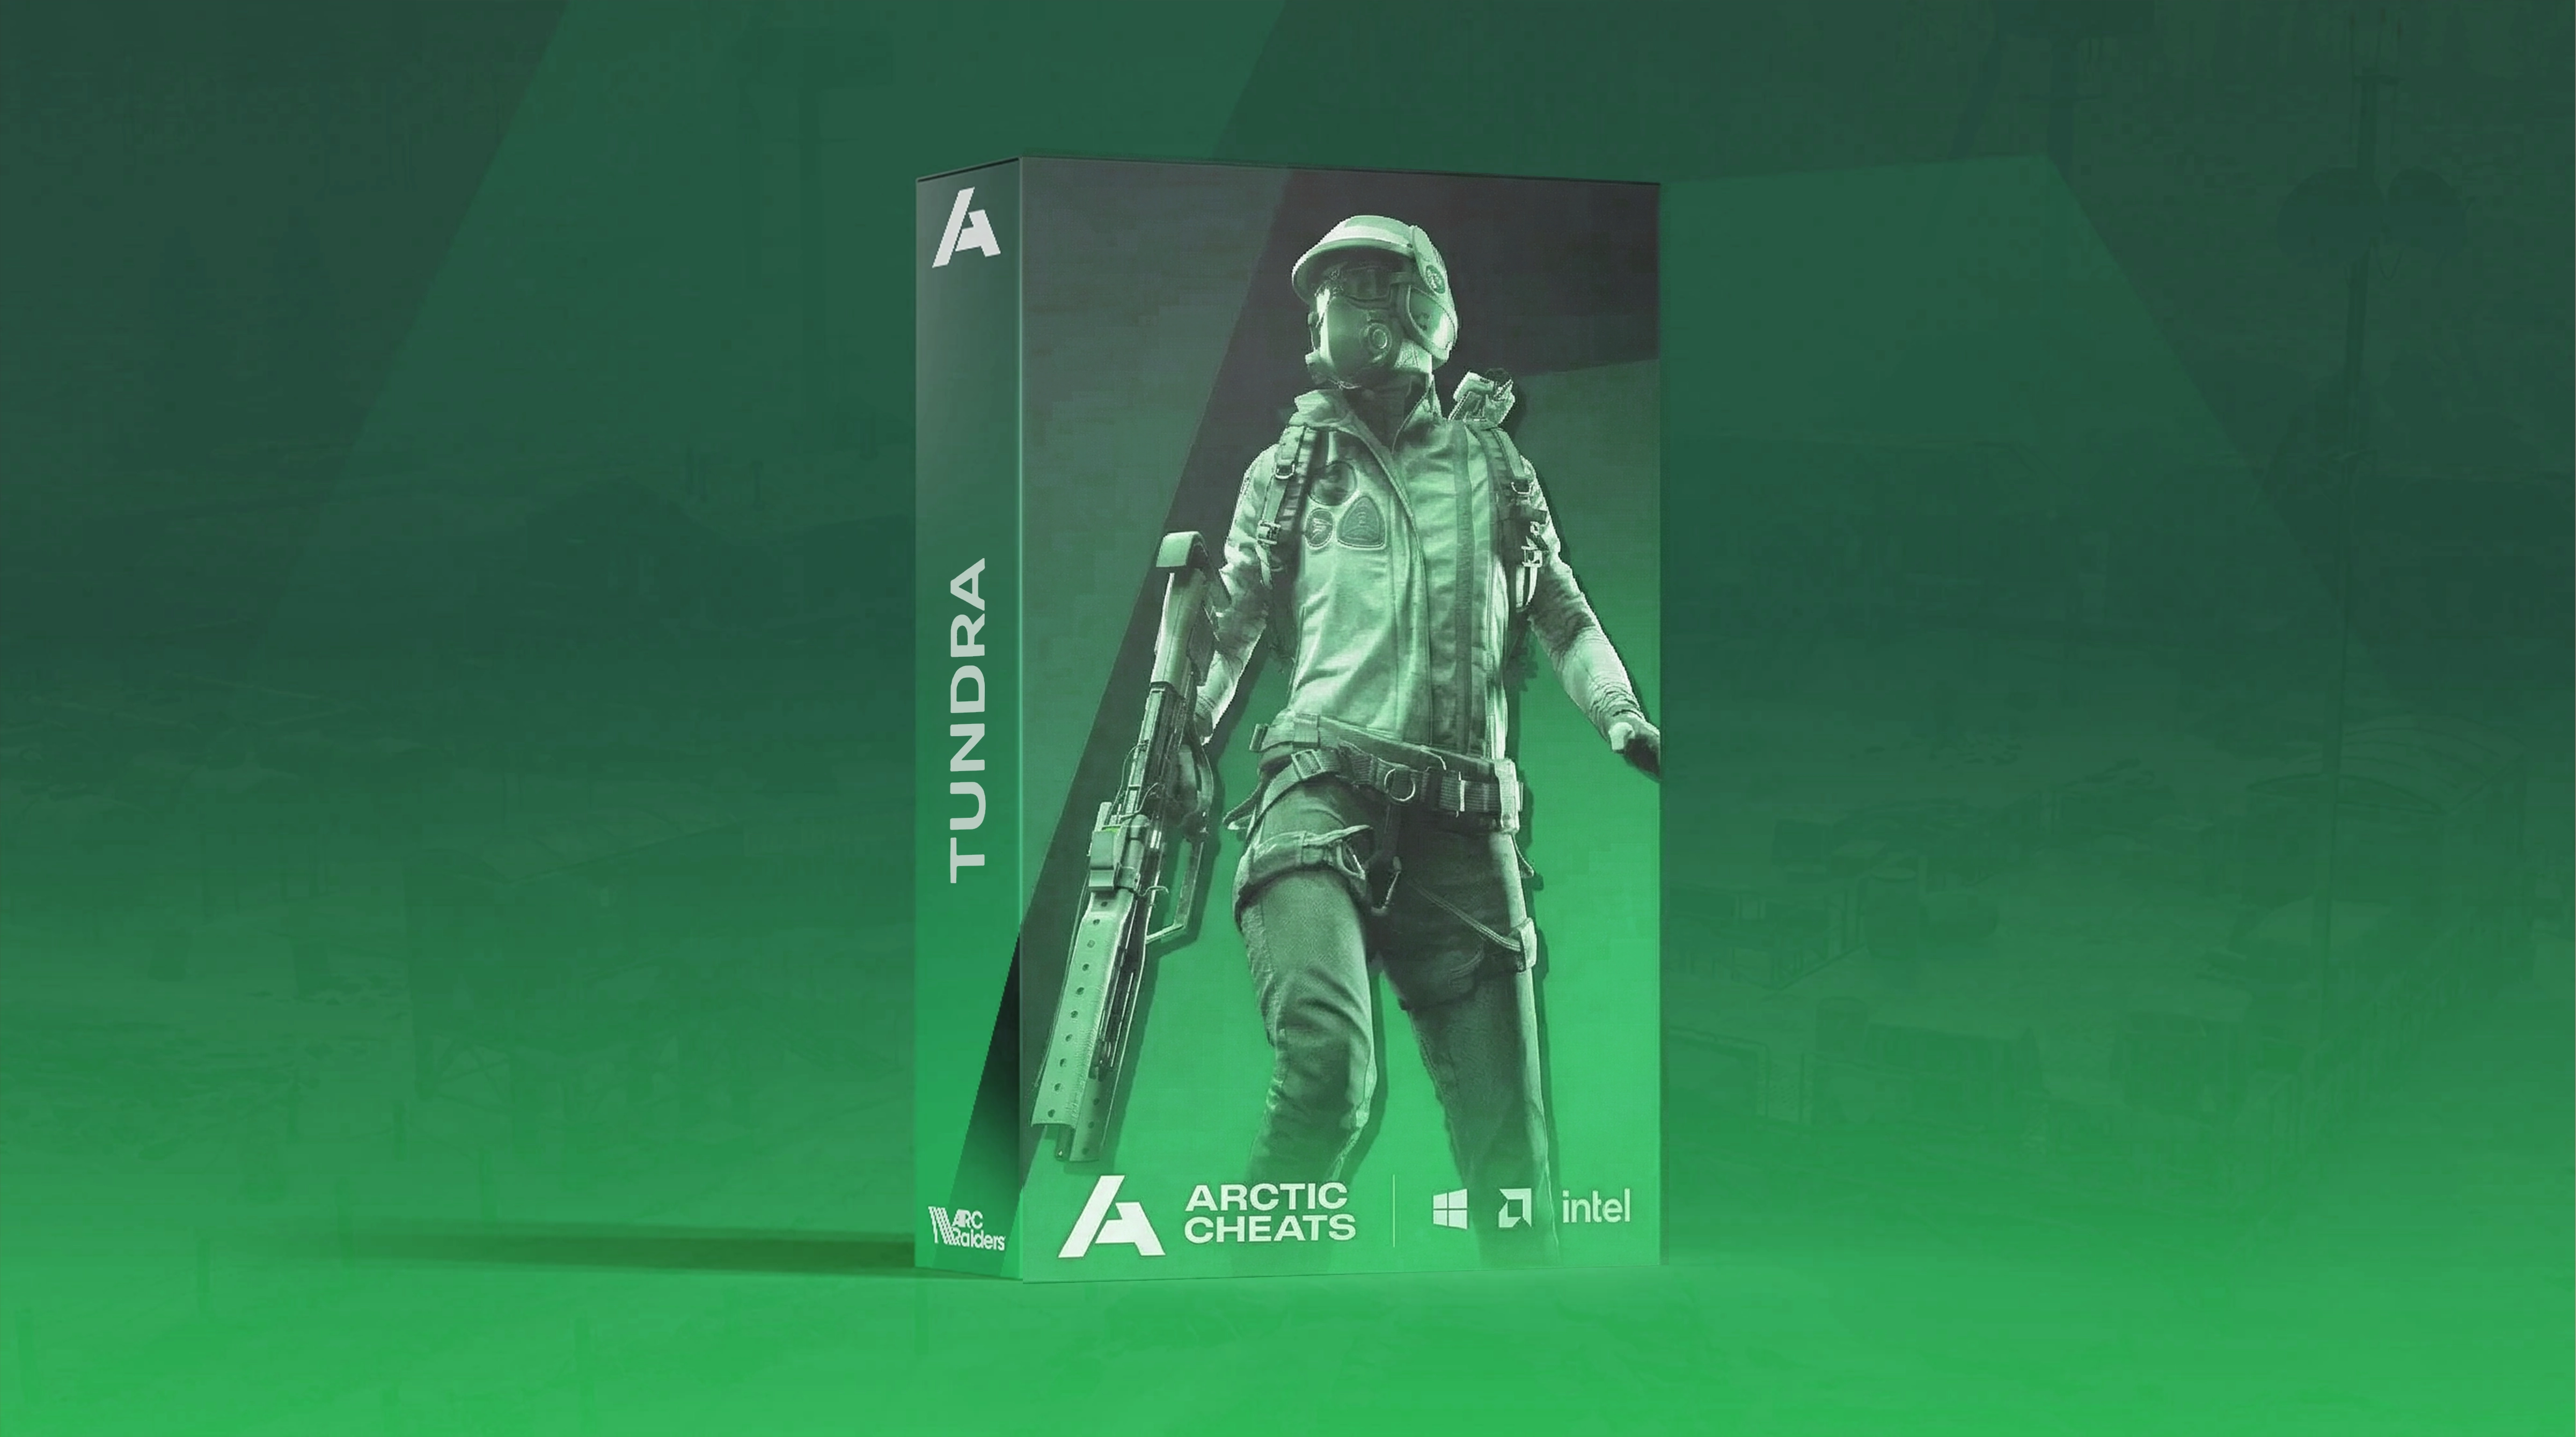
Tundra 1 Day
Product in Arc Raiders

-
Information
- Supported CPU: Intel + AMD
- Supported Windows Version: 10 - 11
- Cheat Type: Internal
- Works on Steam only
-
-
Aimbot
Advanced combat targeting and prediction controls.
- Aimbot enable / disable
- Only visible targets
- Prediction
- Draw field of view
- Adjustable FOV
- Smoothness control
- Aimbot key bind
- Target bone selection
- Random bone option
- Max Hz limiter
- Target line
- Target info display
-
Visuals (ESP)
Player, AI, and world awareness visuals.
- Enemy ESP
- Show teammates
- Max distance control
- Skeleton ESP
- Head dot
- Box ESP (2D, outlined, filled)
- Username display
- Distance display
- Squad info
- Held item display
- Out-of-FOV arrows
- Snaplines
-
World & Loot ESP
Item, container, and extraction tracking.
- Loot ESP enable
- Item distance control
- Ground item filtering
- Item icons
- Item amount
- Item price filter
- Raider cache containers
- Ammo boxes
- Android containers
- Salvage containers
- Show opened containers
- Container type filtering
- Extraction points ESP
-
AI & Deployables
AI tracking and deployable detection.
- AI ESP enable
- AI distance control
- AI type filtering
- Show destroyed AI
- Player corpses
- Grenades (distance control)
- Mines (distance control)
- Traps (distance control)
-
Radar
Customizable 2D radar system.
- Enable radar
- Radar size control
- Radar position X
- Radar position Y
-
Miscellaneous
Menu, visuals, and exploit controls.
- FOV changer
- Zoom
- Skeleton thickness
- Box thickness
- Font size
- Menu color customization
-
Configurations
Full configuration management system.
- Save configuration
- Load configuration
- Delete configuration
-
From$9.90 -
-
Tundra 30 Days
Product in Arc Raiders
-
Information
- Supported CPU: Intel + AMD
- Supported Windows Version: 10 - 11
- Cheat Type: Internal
- Works on Steam only
-
-
Aimbot
Advanced combat targeting and prediction controls.
- Aimbot enable / disable
- Only visible targets
- Prediction
- Draw field of view
- Adjustable FOV
- Smoothness control
- Aimbot key bind
- Target bone selection
- Random bone option
- Max Hz limiter
- Target line
- Target info display
-
Visuals (ESP)
Player, AI, and world awareness visuals.
- Enemy ESP
- Show teammates
- Max distance control
- Skeleton ESP
- Head dot
- Box ESP (2D, outlined, filled)
- Username display
- Distance display
- Squad info
- Held item display
- Out-of-FOV arrows
- Snaplines
-
World & Loot ESP
Item, container, and extraction tracking.
- Loot ESP enable
- Item distance control
- Ground item filtering
- Item icons
- Item amount
- Item price filter
- Raider cache containers
- Ammo boxes
- Android containers
- Salvage containers
- Show opened containers
- Container type filtering
- Extraction points ESP
-
AI & Deployables
AI tracking and deployable detection.
- AI ESP enable
- AI distance control
- AI type filtering
- Show destroyed AI
- Player corpses
- Grenades (distance control)
- Mines (distance control)
- Traps (distance control)
-
Radar
Customizable 2D radar system.
- Enable radar
- Radar size control
- Radar position X
- Radar position Y
-
Miscellaneous
Menu, visuals, and exploit controls.
- FOV changer
- Zoom
- Skeleton thickness
- Box thickness
- Font size
- Menu color customization
-
Configurations
Full configuration management system.
- Save configuration
- Load configuration
- Delete configuration
-
From$79.90 -
-
Tundra 7 Days
Product in Arc Raiders

-
Information
- Supported CPU: Intel + AMD
- Supported Windows Version: 10 - 11
- Cheat Type: Internal
- Works on Steam only
-
-
Aimbot
Advanced combat targeting and prediction controls.
- Aimbot enable / disable
- Only visible targets
- Prediction
- Draw field of view
- Adjustable FOV
- Smoothness control
- Aimbot key bind
- Target bone selection
- Random bone option
- Max Hz limiter
- Target line
- Target info display
-
Visuals (ESP)
Player, AI, and world awareness visuals.
- Enemy ESP
- Show teammates
- Max distance control
- Skeleton ESP
- Head dot
- Box ESP (2D, outlined, filled)
- Username display
- Distance display
- Squad info
- Held item display
- Out-of-FOV arrows
- Snaplines
-
World & Loot ESP
Item, container, and extraction tracking.
- Loot ESP enable
- Item distance control
- Ground item filtering
- Item icons
- Item amount
- Item price filter
- Raider cache containers
- Ammo boxes
- Android containers
- Salvage containers
- Show opened containers
- Container type filtering
- Extraction points ESP
-
AI & Deployables
AI tracking and deployable detection.
- AI ESP enable
- AI distance control
- AI type filtering
- Show destroyed AI
- Player corpses
- Grenades (distance control)
- Mines (distance control)
- Traps (distance control)
-
Radar
Customizable 2D radar system.
- Enable radar
- Radar size control
- Radar position X
- Radar position Y
-
Miscellaneous
Menu, visuals, and exploit controls.
- FOV changer
- Zoom
- Skeleton thickness
- Box thickness
- Font size
- Menu color customization
-
Configurations
Full configuration management system.
- Save configuration
- Load configuration
- Delete configuration
-
From$34.90 -
-
Tundra 3 Days
Product in Arc Raiders

-
Information
- Supported CPU: Intel + AMD
- Supported Windows Version: 10 - 11
- Cheat Type: Internal
- Works on Steam only
-
-
Aimbot
Advanced combat targeting and prediction controls.
- Aimbot enable / disable
- Only visible targets
- Prediction
- Draw field of view
- Adjustable FOV
- Smoothness control
- Aimbot key bind
- Target bone selection
- Random bone option
- Max Hz limiter
- Target line
- Target info display
-
Visuals (ESP)
Player, AI, and world awareness visuals.
- Enemy ESP
- Show teammates
- Max distance control
- Skeleton ESP
- Head dot
- Box ESP (2D, outlined, filled)
- Username display
- Distance display
- Squad info
- Held item display
- Out-of-FOV arrows
- Snaplines
-
World & Loot ESP
Item, container, and extraction tracking.
- Loot ESP enable
- Item distance control
- Ground item filtering
- Item icons
- Item amount
- Item price filter
- Raider cache containers
- Ammo boxes
- Android containers
- Salvage containers
- Show opened containers
- Container type filtering
- Extraction points ESP
-
AI & Deployables
AI tracking and deployable detection.
- AI ESP enable
- AI distance control
- AI type filtering
- Show destroyed AI
- Player corpses
- Grenades (distance control)
- Mines (distance control)
- Traps (distance control)
-
Radar
Customizable 2D radar system.
- Enable radar
- Radar size control
- Radar position X
- Radar position Y
-
Miscellaneous
Menu, visuals, and exploit controls.
- FOV changer
- Zoom
- Skeleton thickness
- Box thickness
- Font size
- Menu color customization
-
Configurations
Full configuration management system.
- Save configuration
- Load configuration
- Delete configuration
-
From$19.90 -
-
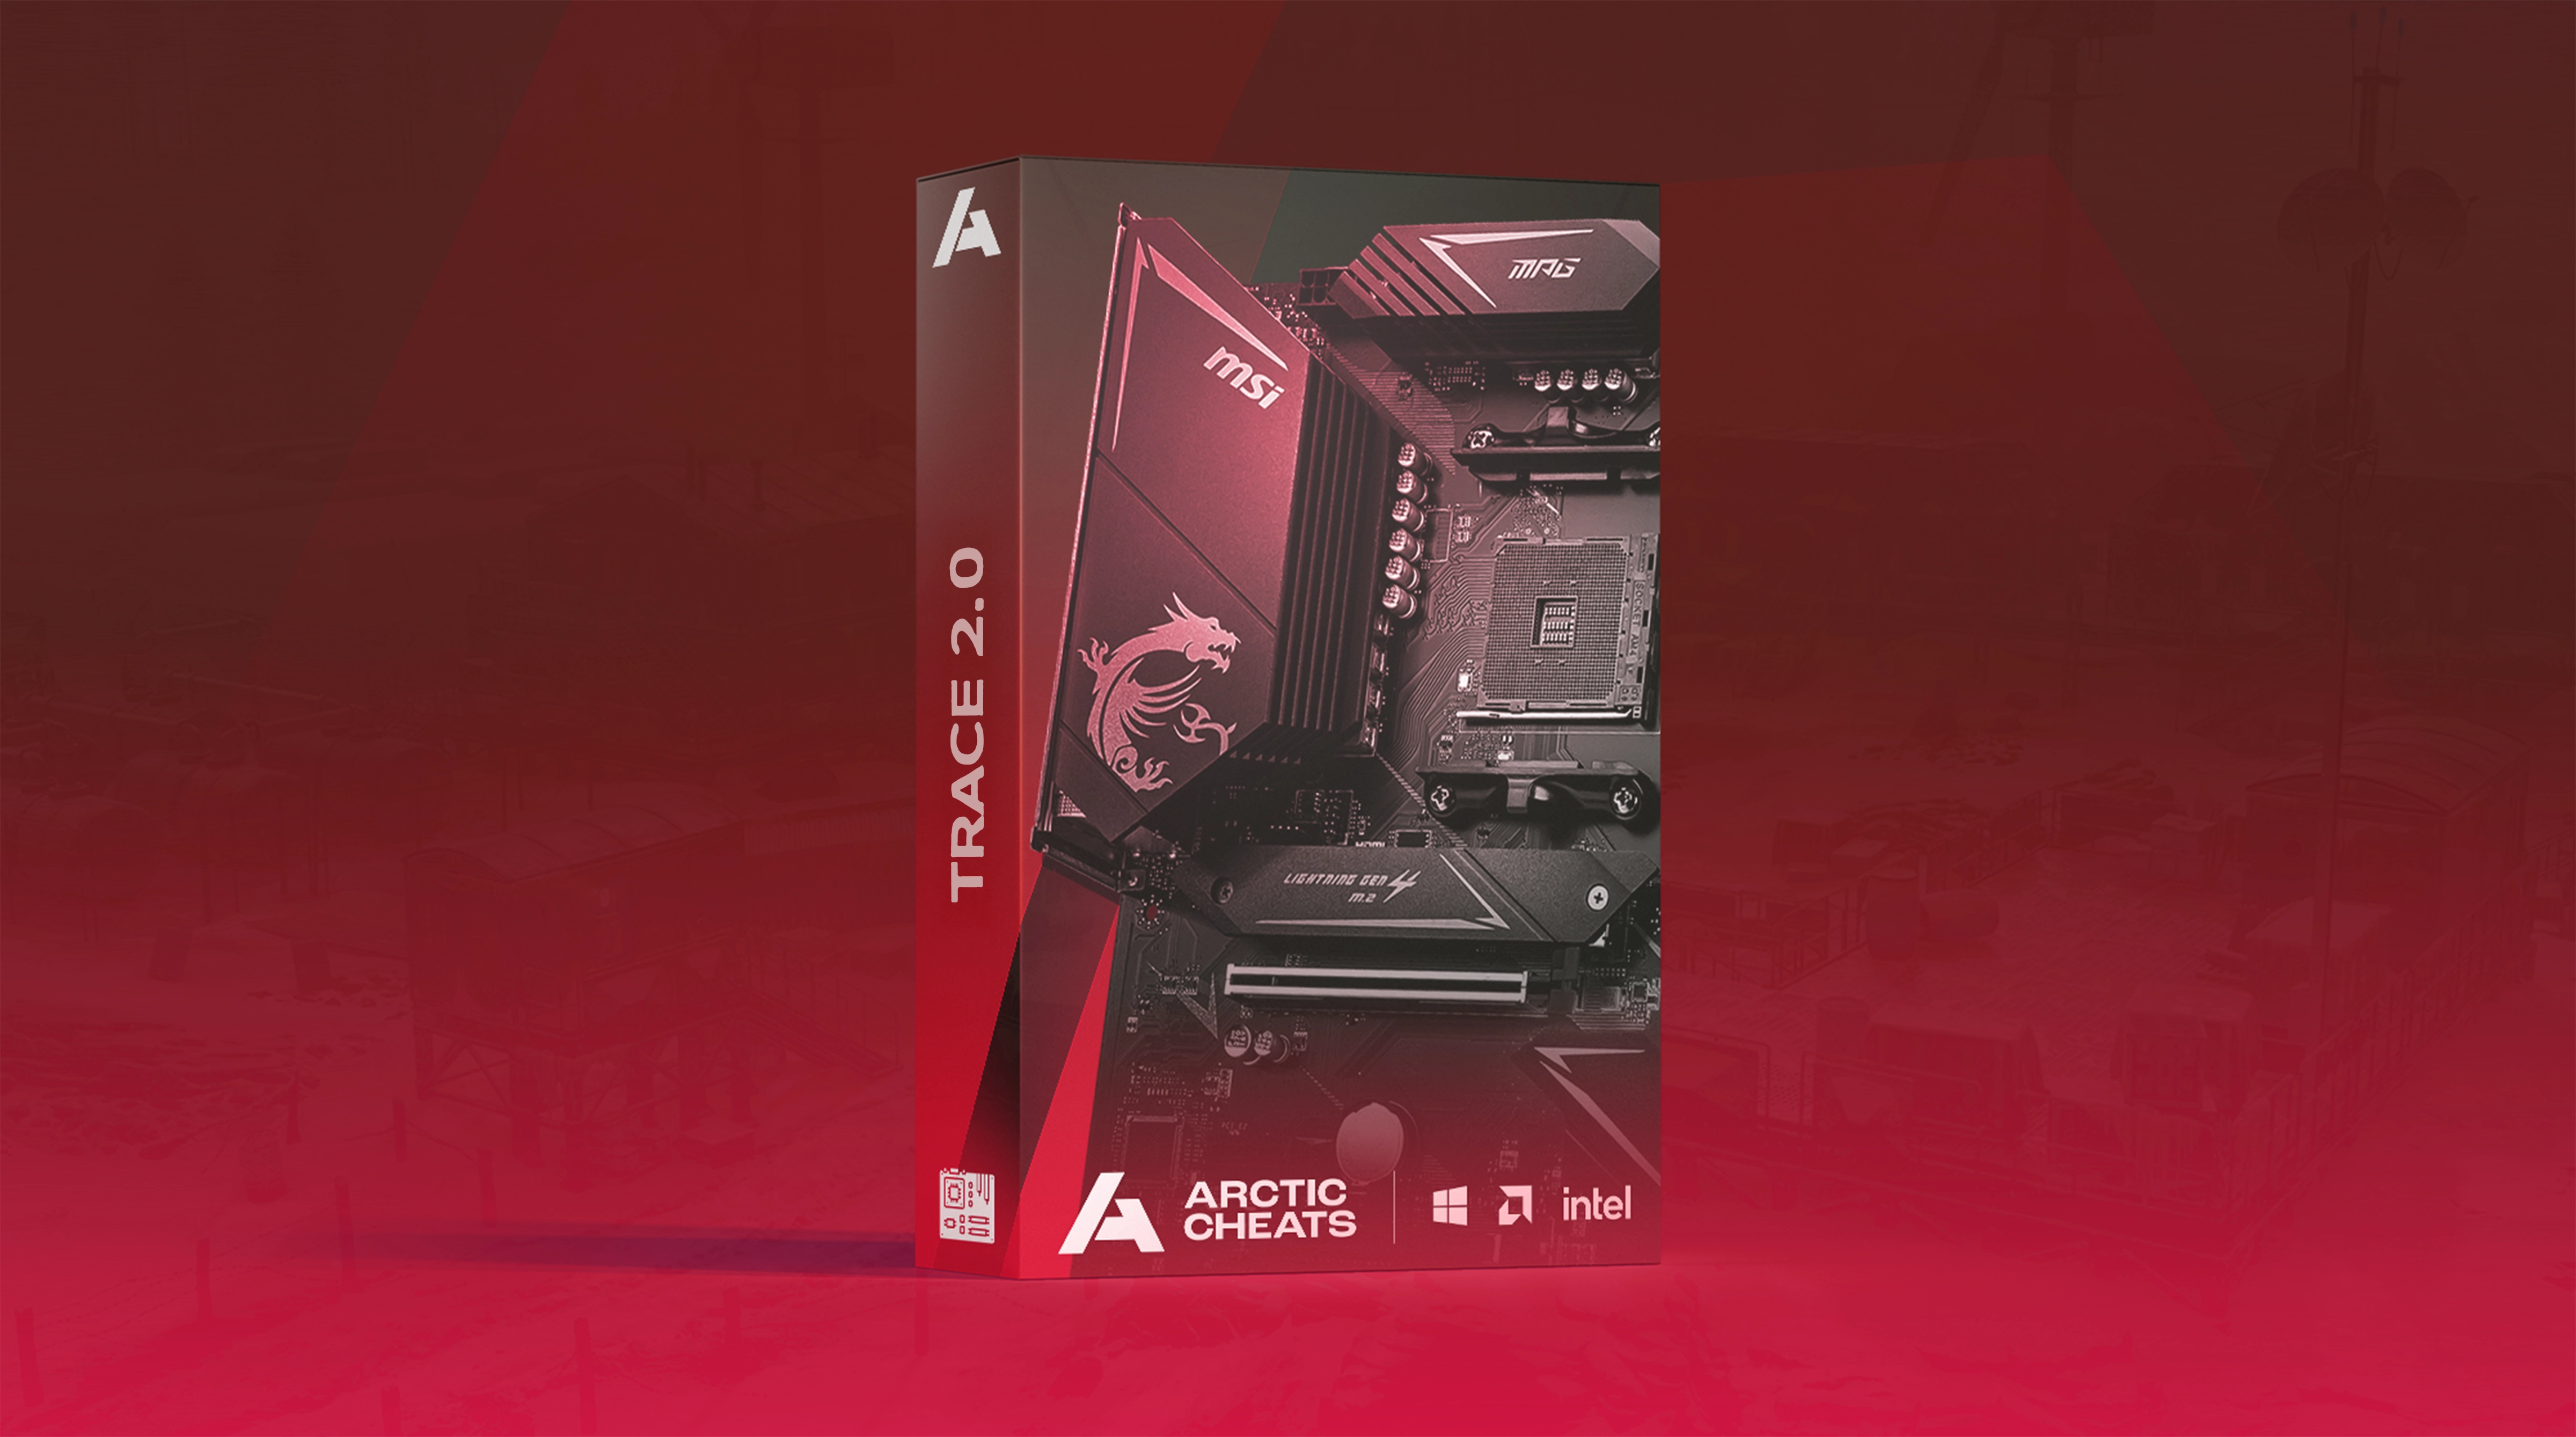
Trace 2.0 90 Days
Product in HWID Spoofers
-
Information
- Supported CPU: Intel + AMD
- Supported Windows Version: 10 - 11 (25H2 also supported)
- Spoofer Type: Temperary
- Seed system available
-
-
Spoofer
Temporary HWID spoofing system.
- EAC spoofer support
- BattleEye spoofer support
- Temporary spoofing mode
- Storage drive serials
- RAM serials
- Monitor serials
- S.M.A.R.T data
- Network adapters
- Registry values
- MAC address
- GPU identifiers
- Motherboard identifiers
-
Supported Games
HWID ban removal compatibility list.
- Arc Raiders
- Apex Legends
- ARK
- Arma
- BattleBit
- Battlefield (not 6)
- Call of Duty: MW2 / WZ2 / MW3 / WZ3 / BO6 / WZ4 / BO7
- Dead by Daylight
- Dark and Darker
- Delta Force
- DayZ
- Escape from Tarkov
- Fortnite
- Fortnite Tournament
- Insurgency: Sandstorm
- New World
- Paladins
- Rainbow Six Siege
- Rust
- SCUM
- The Finals
- Marvel Rivals
- Fragpunk
-
From$184.90 -
-
Trace 2.0 30 Days
Product in HWID Spoofers

-
Information
- Supported CPU: Intel + AMD
- Supported Windows Version: 10 - 11 (25H2 also supported)
- Spoofer Type: Temperary
- Seed system available
-
-
Spoofer
Temporary HWID spoofing system.
- EAC spoofer support
- BattleEye spoofer support
- Temporary spoofing mode
- Storage drive serials
- RAM serials
- Monitor serials
- S.M.A.R.T data
- Network adapters
- Registry values
- MAC address
- GPU identifiers
- Motherboard identifiers
-
Supported Games
HWID ban removal compatibility list.
- Arc Raiders
- Apex Legends
- ARK
- Arma
- BattleBit
- Battlefield (not 6)
- Call of Duty: MW2 / WZ2 / MW3 / WZ3 / BO6 / WZ4 / BO7
- Dead by Daylight
- Dark and Darker
- Delta Force
- DayZ
- Escape from Tarkov
- Fortnite
- Fortnite Tournament
- Insurgency: Sandstorm
- New World
- Paladins
- Rainbow Six Siege
- Rust
- SCUM
- The Finals
- Marvel Rivals
- Fragpunk
-
From$72.90 -
-
Trace 2.0 15 Days
Product in HWID Spoofers

-
Information
- Supported CPU: Intel + AMD
- Supported Windows Version: 10 - 11 (25H2 also supported)
- Spoofer Type: Temperary
- Seed system available
-
-
Spoofer
Temporary HWID spoofing system.
- EAC spoofer support
- BattleEye spoofer support
- Temporary spoofing mode
- Storage drive serials
- RAM serials
- Monitor serials
- S.M.A.R.T data
- Network adapters
- Registry values
- MAC address
- GPU identifiers
- Motherboard identifiers
-
Supported Games
HWID ban removal compatibility list.
- Arc Raiders
- Apex Legends
- ARK
- Arma
- BattleBit
- Battlefield (not 6)
- Call of Duty: MW2 / WZ2 / MW3 / WZ3 / BO6 / WZ4 / BO7
- Dead by Daylight
- Dark and Darker
- Delta Force
- DayZ
- Escape from Tarkov
- Fortnite
- Fortnite Tournament
- Insurgency: Sandstorm
- New World
- Paladins
- Rainbow Six Siege
- Rust
- SCUM
- The Finals
- Marvel Rivals
- Fragpunk
-
From$44.90 -
-
Trace 2.0
Product in HWID Spoofers

-
Information
- Supported CPU: Intel + AMD
- Supported Windows Version: 10 - 11 (25H2 also supported)
- Spoofer Type: Temperary
- Seed system available
-
-
Spoofer
Temporary HWID spoofing system.
- EAC spoofer support
- BattleEye spoofer support
- Temporary spoofing mode
- Storage drive serials
- RAM serials
- Monitor serials
- S.M.A.R.T data
- Network adapters
- Registry values
- MAC address
- GPU identifiers
- Motherboard identifiers
-
Supported Games
HWID ban removal compatibility list.
- Arc Raiders
- Apex Legends
- ARK
- Arma
- BattleBit
- Battlefield (not 6)
- Call of Duty: MW2 / WZ2 / MW3 / WZ3 / BO6 / WZ4 / BO7
- Dead by Daylight
- Dark and Darker
- Delta Force
- DayZ
- Escape from Tarkov
- Fortnite
- Fortnite Tournament
- Insurgency: Sandstorm
- New World
- Paladins
- Rainbow Six Siege
- Rust
- SCUM
- The Finals
- Marvel Rivals
- Fragpunk
-
From$44.90 -
-
Been using frost for more than 2 months and im really happy with this!